Getting started with Foxdeli
You probably want to start using the whole app as quickly as possible. So where should you begin?
Log in to or sign up for Foxdeli
If you use Shoptet or Shopify, you are registered automatically when you install the add-on on that platform.
When you log in for the first time, an onboarding guide walks you through the essential basic settings:
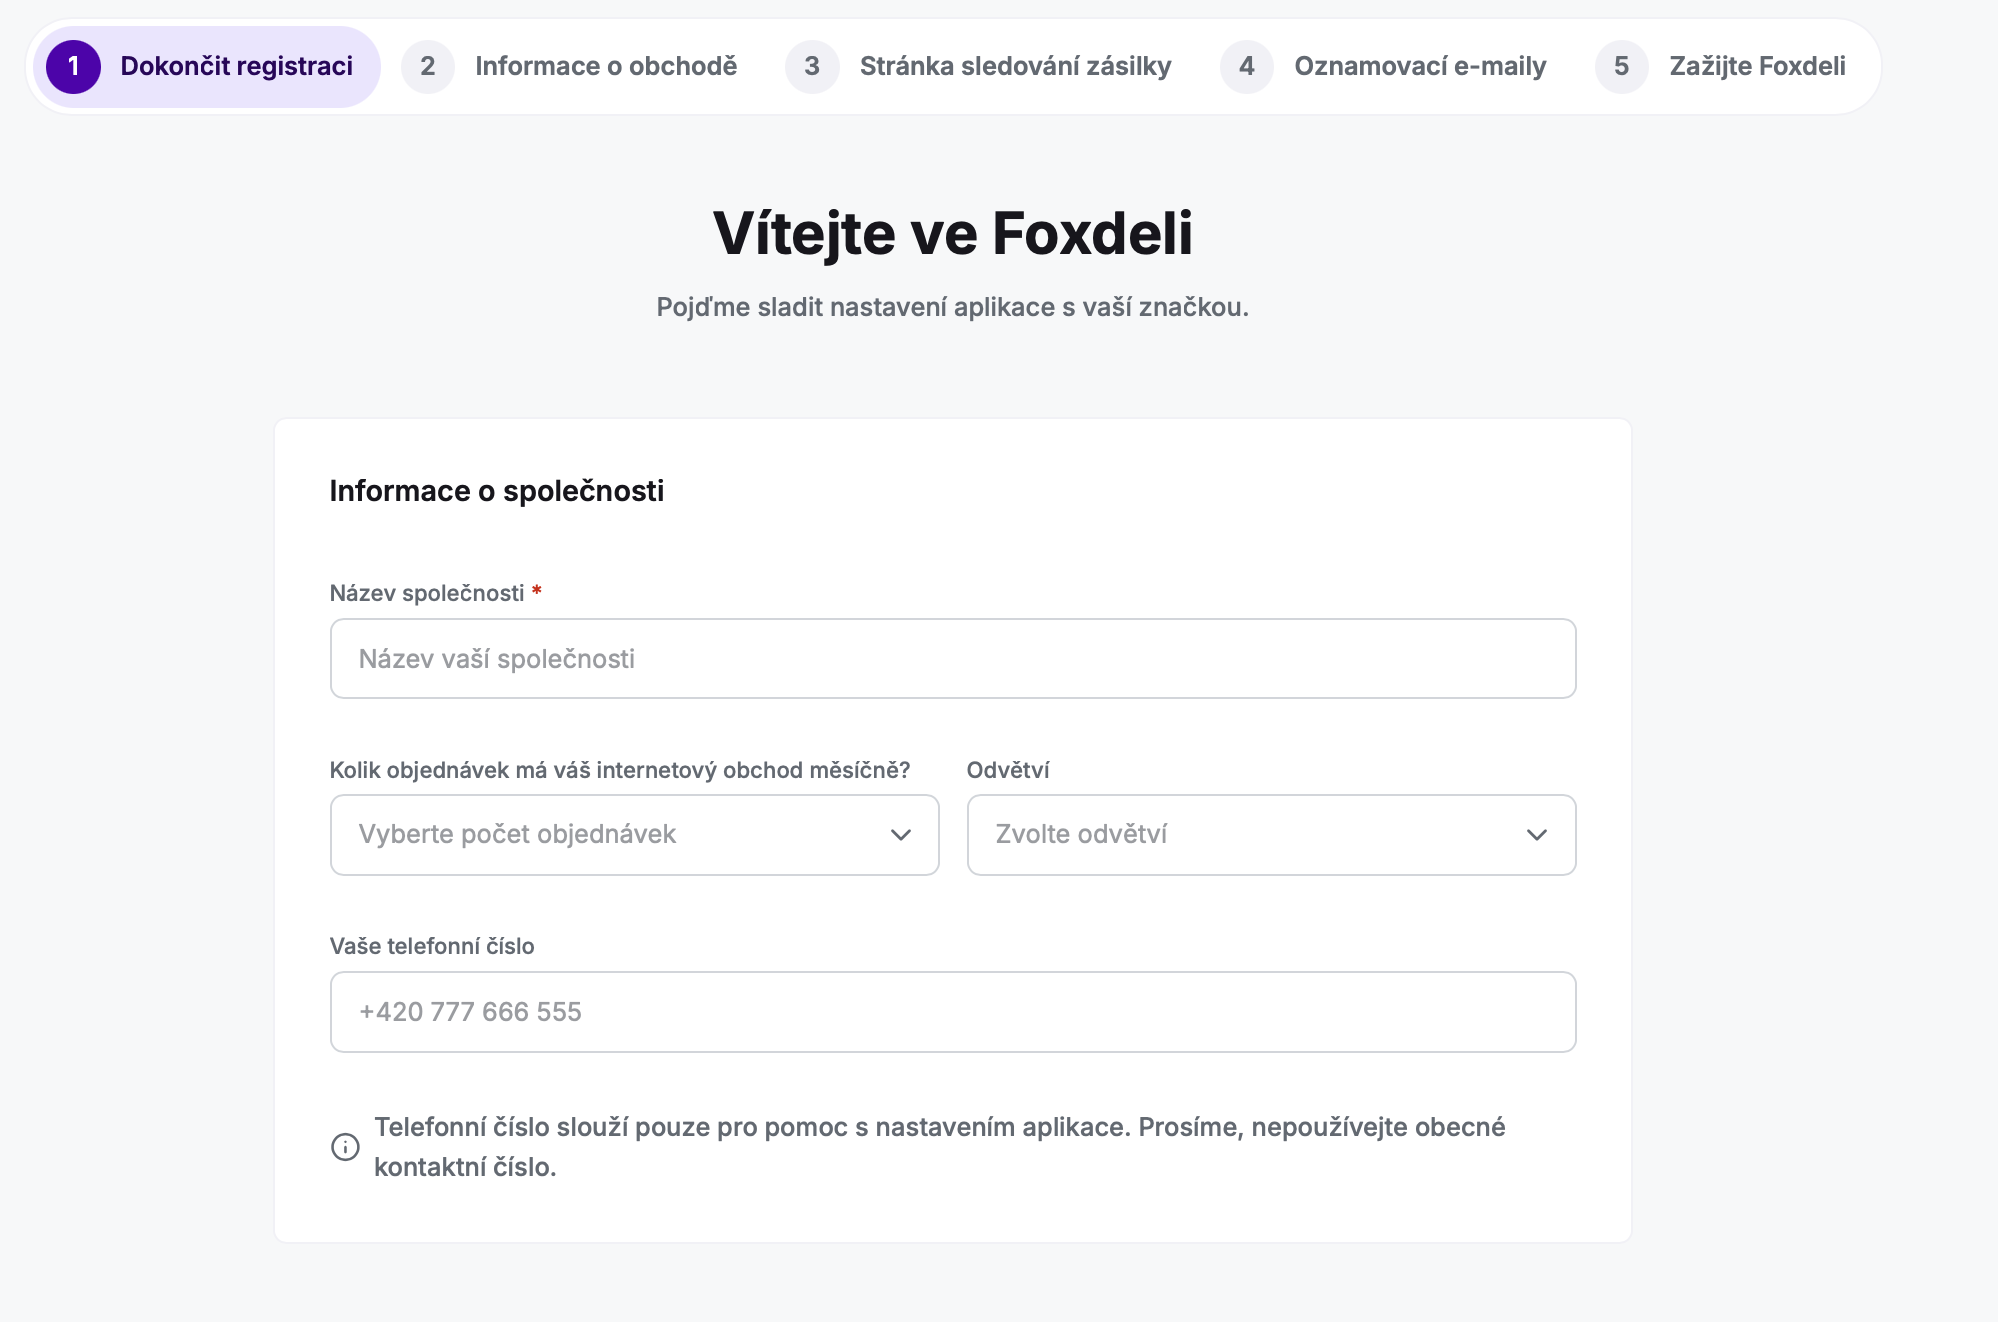
Once you have completed the onboarding, we recommend going to the Settings section and going through the individual items, especially:
- Stores – Enter all the information about your e-shop
- Carriers – Connect all the carriers you use. Instructions for connecting each carrier are shown in its detail, and you can also find them in this help section
- Payment – Filling in your payment details lets you add payment instructions to your customer e-mails if an order has not been paid yet
- Users – Invite other users to Foxdeli here
- Company – Information about your company
- API connections – If you connect via the API, this section is for you
That completes the basic Foxdeli setup, and we can move on to the most interesting part – setting up your communication. Go to the Communication section in the left menu.
- Workflow – Until Workflow is switched on, you can safely set up all communication channels, because Foxdeli does not send any e-mails. For more, see How to switch on Workflow
- Mailing – The most important tool in Foxdeli; you will find more information in a separate article
- Tracking page – A single place with all the information for your customers; more in a separate article
- Campaigns – Put simply, campaigns are image banners that are placed on the T&T page and in the e-mails sent through Foxdeli
Note: activating Workflow starts the communication to your customers, so make sure you have connected your carriers beforehand and checked that your shipments are being tracked correctly.
Still have questions?
Contact usMore articles in this category
- Brick-and-mortar pickup places for personal pickup
- Delayed due to carrier time constraints – a workflow status
- Duplicating templates, campaigns and workflows
- How to turn on e-mail communication: working with Workflow
- Sending e-mails from your own domain (DKIM verification)
- SMS to customers
- What you'll find on the Dashboard
- UTM parameters in links
- Connecting your e-shop to Foxdeli – Shoptet module
- Connecting your e-shop to Foxdeli – Shopify app
- Connecting multiple stores to one account
- Payment details in the order summary
- Attachments in e-mails
Articles in this category
- Brick-and-mortar pickup places for personal pickup
- Delayed due to carrier time constraints – a workflow status
- Duplicating templates, campaigns and workflows
- How to turn on e-mail communication: working with Workflow
- Sending e-mails from your own domain (DKIM verification)
- SMS to customers
- What you'll find on the Dashboard
- UTM parameters in links
- Connecting your e-shop to Foxdeli – Shoptet module
- Connecting your e-shop to Foxdeli – Shopify app
- Connecting multiple stores to one account
- Payment details in the order summary
- Attachments in e-mails